houseplant > AMARYLLIS > PLANTING
IN THIS GUIDE
AMARYLLIS GUIDES

Container GrowingGrowing From SeedIndoors GrowingPlantingPropagationPruningRe - BloomingRepotting
Amaryllis are semitropic plants popular for growing as houseplant in the UK .
Their showy blooms are a cheerful sight to clear up up your home over wintertime and in early natural spring .

When amaryllis bulbs are planted in September , they should bloom in time for your Christmas festivities .
Here is the process involved in planting amaryllis bulbs :
see our video explanation of this process or read below for further information :

When To Plant
plant life amaryllis bulbs indoors around 6 - 8 week before you would wish it to blossom .
If you would wish your industrial plant to be in bloom for Christmas , planting in mid to late September is generally the best idea .
effect can depart somewhat , but counting back 8 weeks from when you want the plant to bloom should tell you roughly when to plant .
1) Soak Bulbs Before Planting
Once you have sourced your amaryllis bulbs , you should plume them in tepid water for a few hours before you plant them into containers .
This aid to rehydrate the roots and can speed up the process of maturation .
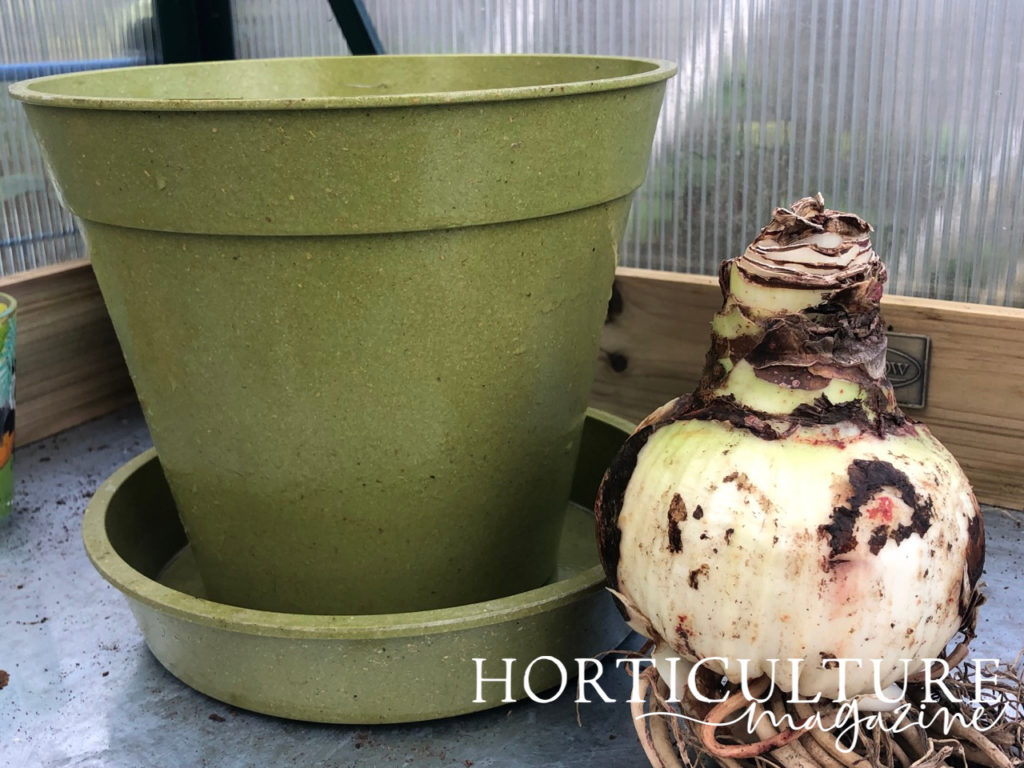
2) Choose A Container
Select a pot that is just a footling tumid than the bulb .
Do n’t use a container that is too large , since these are plants that like to have their roots constricted .
They really do best when they become pot - hold , so there should be no more than 1 cm or so of your spring up mass medium on each side of the bulb .

you could fill your pot with any peat - free multipurpose compost .
“ I prefer to use peat - devoid John Innes no.2 for Amaryllis bulb , ” shares Colin Skelly , a Horticulturist with 5 years of experience work at The Eden Project .
“ If using peat - free compost , I will always add together horticultural guts to the premix to insure that the mix is barren - draining . ”
It is also a upright estimate to top the pile around the edges of the electric-light bulb , with horticultural grit .
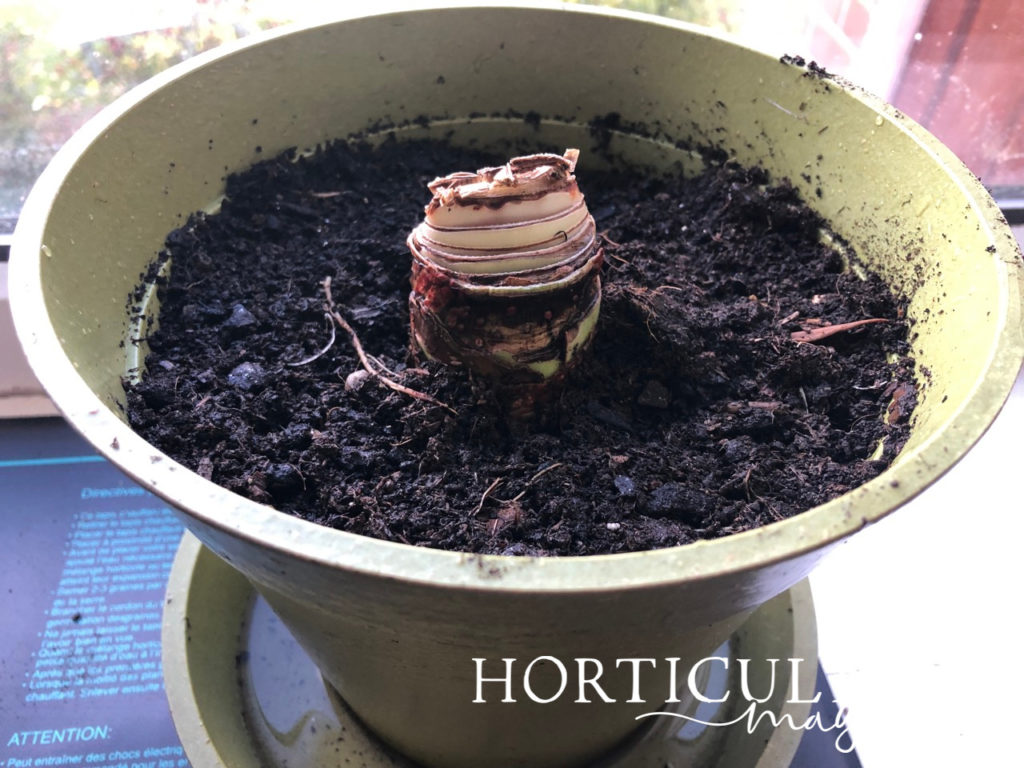
3) Plant The Bulb
localise some compost in the pot and set the bulb so that it is sit down on top .
Top up a little compost around the sides of the bulb and then irrigate it in well , get certain that the medium is moist but excess water is able-bodied to run out away .
4) Leave In A Warm & Dark Place
Next , place the bulb into its mint in a warm , colored place .
Leave it there , checking on it regularly , until a shoot emerges .
5) Move To A Bright Location
Once a shoot egress from your amaryllis bulb , you should then move the plant life in its pot to the position where it will flower within your home .
A suited locating will be brilliant , but out of direct sunlight , and should also be draught - free and somewhere where the temperature do not fluctuate too much .
Again , check that excess body of water can enfeeble off and do n’t irrigate too much , as the bulbs need jolly free - draining shape .
